
 eng
 English
 Español
 русский
 عربى

3D Acrylic Edge Banding Guide: Types, Benefits, and Selection Tips for Furniture Makers
Content
- 1 What Is 3D Acrylic Edge Banding?
- 2 Why Furniture Makers Choose 3D Acrylic Edge Banding
- 3 Types of 3D Acrylic Edge Banding
- 4 Where 3D Acrylic Edge Banding Works Best
- 5 Choosing the Right Thickness, Color, and Surface
- 6 Processing and Installation Notes
- 7 How to Evaluate a 3D Acrylic Edge Banding Supplier
- 8 A Practical Next Step
Walk through a high-end kitchen showroom or a modern furniture showroom, and you will often notice the edges before you notice anything else. A crisp, glossy edge can make a cabinet door look deeper, richer, and more considered. That is one reason 3D acrylic edge banding has become a practical choice for furniture makers who want visual depth without changing the whole panel construction.
At Suntung, we have been working with edge banding materials since 2005. Our 3D acrylic range is designed for furniture panels, kitchen cabinets, decorative surfaces, and OEM furniture brands that need a clean edge with a more dimensional look. This guide shares what we have learned about the material, where it works best, and how to choose it with confidence.
What Is 3D Acrylic Edge Banding?
3D acrylic edge banding is an edge strip with an acrylic surface layer that creates a sense of depth and light reflection. Instead of a flat, printed color, the acrylic surface gives the edge a richer appearance that changes slightly as the viewing angle shifts. On a white cabinet door, it can read as a clean solid edge. On a woodgrain panel, it can carry the grain with more visual weight.
The material is commonly used to close and decorate the edges of MDF, melamine boards, acrylic panels, and other furniture substrates. Our range includes unicolor, wood color, and bicolor options, with listed sizes from 1 mm to 22 mm across the relevant product lines. Because the edge is often the first place a buyer touches, the surface should feel consistent with the panel and hold up to daily handling.
The 3D effect is not a gimmick. It comes from the way light moves across the acrylic surface, which is why samples should always be checked under different lighting rather than chosen from a screen alone. A strip that looks bright in a photo may look softer under warm showroom light, and a woodgrain strip may show more contrast on a vertical cabinet than on a horizontal shelf.
Why Furniture Makers Choose 3D Acrylic Edge Banding
From our experience, the choice is usually about balance: a more premium look, but still a material that fits normal panel processing. The main benefits tend to be:
- Depth and color richness that make flat panels feel more finished and more dimensional.
- Visual continuity with acrylic, UV, PET, and high-gloss decorative panels when the color and gloss level are matched carefully.
- A surface that is generally easy to wipe clean and suitable for kitchen cabinets, wardrobe fronts, and display furniture.
- Design flexibility through solid colors, woodgrain effects, and bicolor contrast for feature edges.
- A practical way to upgrade the perceived value of a cabinet or furniture panel without changing the board itself.
It is important to set realistic expectations. Acrylic edge banding is not a replacement for a solid acrylic panel, and it should not be specified without confirming adhesive compatibility, trimming behavior, and the final cleaning routine. Used correctly, it is a focused upgrade that improves the edge without making the whole production process more complicated than it needs to be.
Types of 3D Acrylic Edge Banding
Most projects fall into three broad directions. The right choice depends on the panel, the furniture style, and how much contrast you want the edge to carry.
Unicolor 3D Acrylic Edge Banding
Unicolor is the cleanest option for modern furniture, white cabinet doors, and minimalist interiors. A solid color with an acrylic surface can make a plain panel look deeper and more deliberate. It is also easier to match across large production runs when the color reference is controlled.
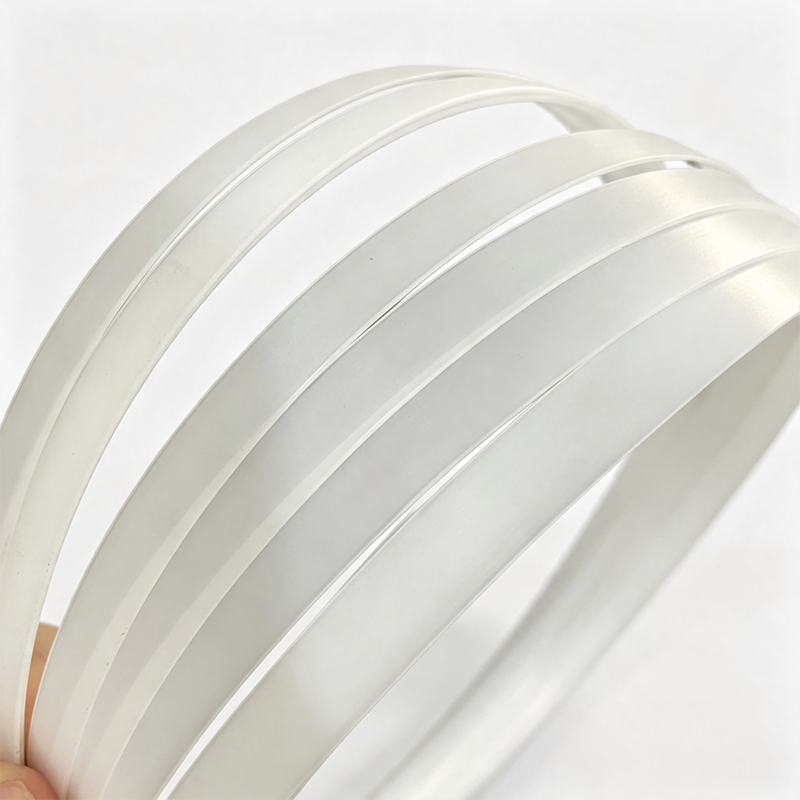 White Unicolor 3D Acrylic Edge BandingA clean white acrylic edge finish for minimalist cabinets and furniture, offering a subtle 3D depth effect and custom color matching.View Product →
Wood Color 3D Acrylic Edge Banding
Wood color 3D acrylic is useful when the panel has a woodgrain print or a natural wood veneer look. The goal is not to fake solid wood, but to carry the grain across the edge in a natural way. Deep grain, subtle grain, and warm or cool wood tones should be sampled against the actual board.
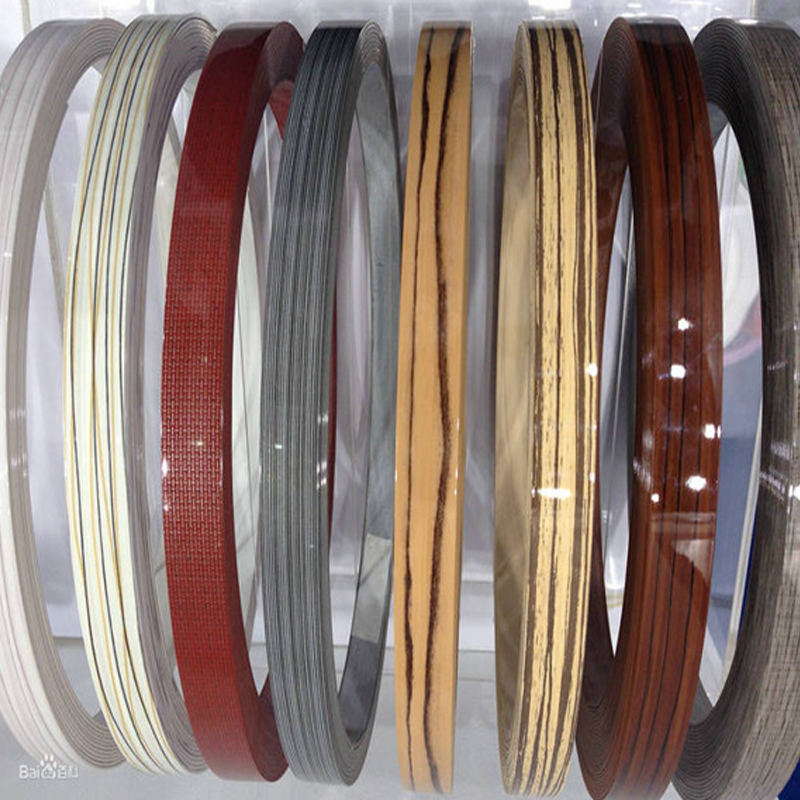 Wood Grain 3D Acrylic Edge BandingNatural woodgrain-look acrylic edge banding for kitchen cabinets, wardrobes, and designer furniture, adding depth and texture while supporting custom wood patterns.View Product →
Bicolor 3D Acrylic Edge Banding
Bicolor creates a deliberate contrast line. It suits modern furniture, retail fixtures, and feature cabinets where the edge is part of the design language. Bicolor is less about blending in and more about controlled contrast, so it works best when the panel color, edge width, and lighting are all considered together.
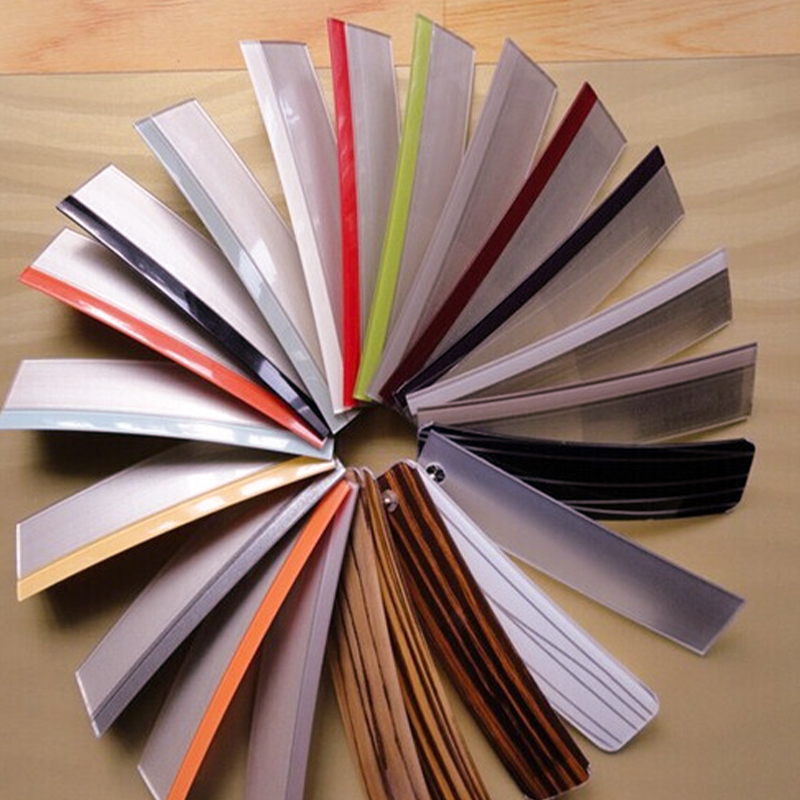 Bicolor 3D Acrylic Edge BandingDual-color acrylic edge banding for modern furniture and feature cabinets, creating a controlled contrast line with a 3D depth effect and custom color combinations.View Product →
Where 3D Acrylic Edge Banding Works Best
The material fits projects where the edge is visible, touched, and expected to look consistent with a decorative surface. Kitchen cabinets, wardrobe doors, bathroom vanities, display units, office furniture, and OEM furniture panels are common applications. It is less about a single product category and more about the quality level of the visible edge.
| Application area | Recommended look | Why it works |
|---|---|---|
| Kitchen cabinets | High-gloss solid color or soft woodgrain | Easy-clean surfaces with a deeper edge appearance |
| Wardrobe doors | Unicolor white, beige, or wood tone | Creates a continuous, finished look on large panels |
| Retail and display fixtures | Bicolor or high-contrast acrylic | Makes the edge part of the visual identity |
| Bathroom vanities | Solid color with a tight, clean trim | Supports a neat appearance around moisture-prone areas |
| OEM furniture programs | Color-matched unicolor or woodgrain | Helps maintain consistency across repeat production |
Choosing the Right Thickness, Color, and Surface
Edge banding sizing can be confusing because buyers sometimes use “thickness” to mean the strip thickness and sometimes the width that covers the panel edge. Our 3D acrylic range includes options from 1 mm to 22 mm in relevant product listings, so it is always best to confirm both dimensions before ordering. Match the strip to the panel edge, the processing machine, and the final trim allowance.
Color is the harder part. A white is rarely just white, and a woodgrain is rarely just brown. If you need a close match to a laminate, PET, painted panel, or acrylic surface, use a color matching service and review physical samples under daylight, warm indoor light, and the lighting used in the final installation. Check gloss level, texture, and edge contrast at the same time.
Before a production run, confirm these points:
- Panel substrate and surface finish, including gloss and texture.
- Required strip width and thickness, plus tolerance expectations.
- Adhesive type and whether the strip is pre-glued or non-glued.
- Trimming, radius, and corner requirements on the machine.
- Batch consistency expectations for repeat furniture programs.
Processing and Installation Notes
Acrylic edge banding can produce a beautiful edge, but it rewards a clean setup. In our experience, most issues come from small details rather than the material itself.
- Check the panel edge for dust, chips, and moisture before bonding.
- Confirm the hot-melt adhesive and machine temperature settings with the strip supplier.
- Set feed speed and pressure so the strip seats evenly without over-compressing the edge.
- Use sharp trimming tools and test on scrap pieces before running visible cabinet doors.
- Inspect the finished edge under raking light to catch lift, glue squeeze-out, or trim marks.
If the edge will be cleaned often, choose a cleaning method that is suitable for acrylic surfaces and avoid abrasive pads. A soft cloth and a mild cleaner are usually enough. The goal is to protect the depth and clarity that made the material worth choosing in the first place.
How to Evaluate a 3D Acrylic Edge Banding Supplier
A good supplier should help you solve the edge, not just quote a roll price. Ask for samples that match your actual panel, confirm the adhesive system, and discuss how color consistency will be controlled across repeat orders. For OEM furniture brands, it also helps to work with a supplier that understands surface development, not only standard colors.
Suntung was founded in 2005 and operates a 21,500 m² factory with a broad edge banding and furniture accessory portfolio. That range matters when a project needs PVC, ABS, 3D acrylic, melamine, veneer, or PET metallic effects to sit together in one furniture program. If you would like to discuss a specific panel or color direction, talk to our team and request a sample set before making the final specification.
A Practical Next Step
3D acrylic edge banding is at its best when the material, color, and processing are considered together. Start with the panel, choose the visual effect you want, and then confirm the strip dimensions and adhesive route with real samples. That simple sequence saves far more time than trying to correct an edge after the cabinets are already assembled.
Recommend Products
-
White Solid Color Acrylic Edge Banding with 3D Depth Effect for Luxury Furniture
-
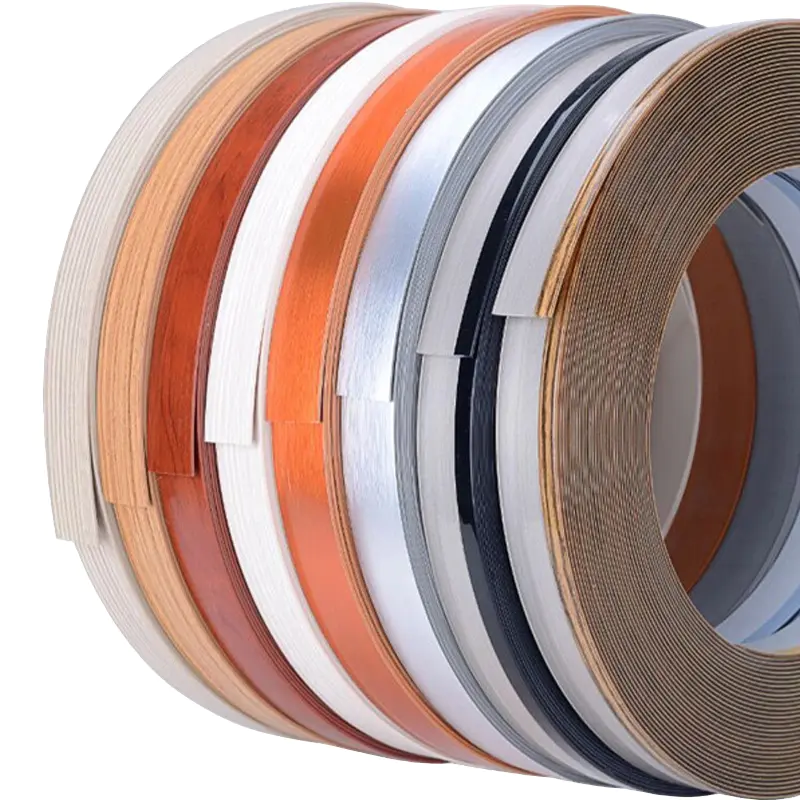
Wood Grain 3D Acrylic Edge Banding for Furniture Decoration
-
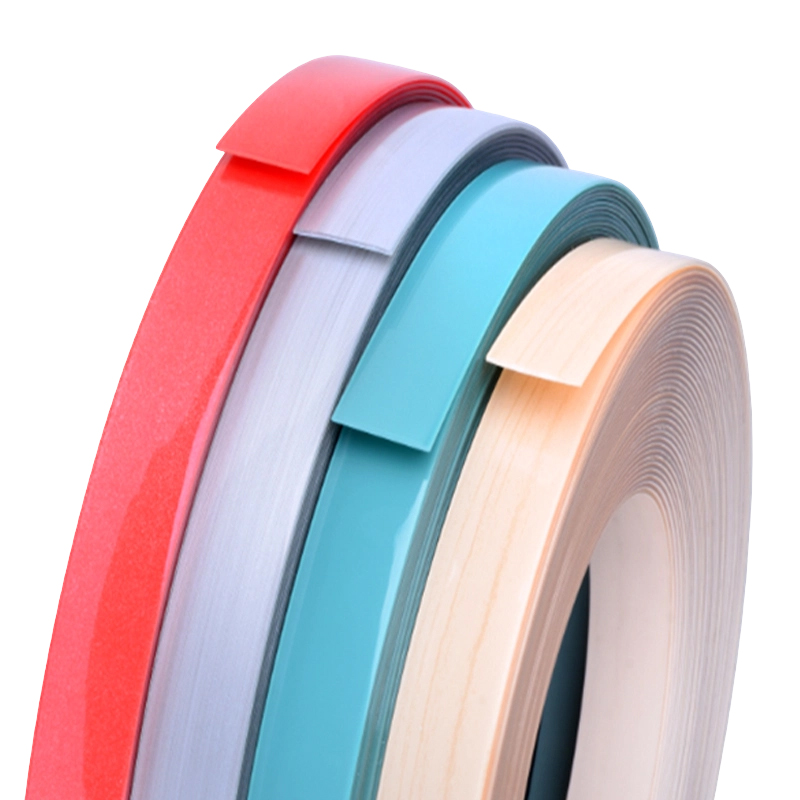
Crystal Effect Acrylic Edge Banding for Premium Furniture Surface Design
-
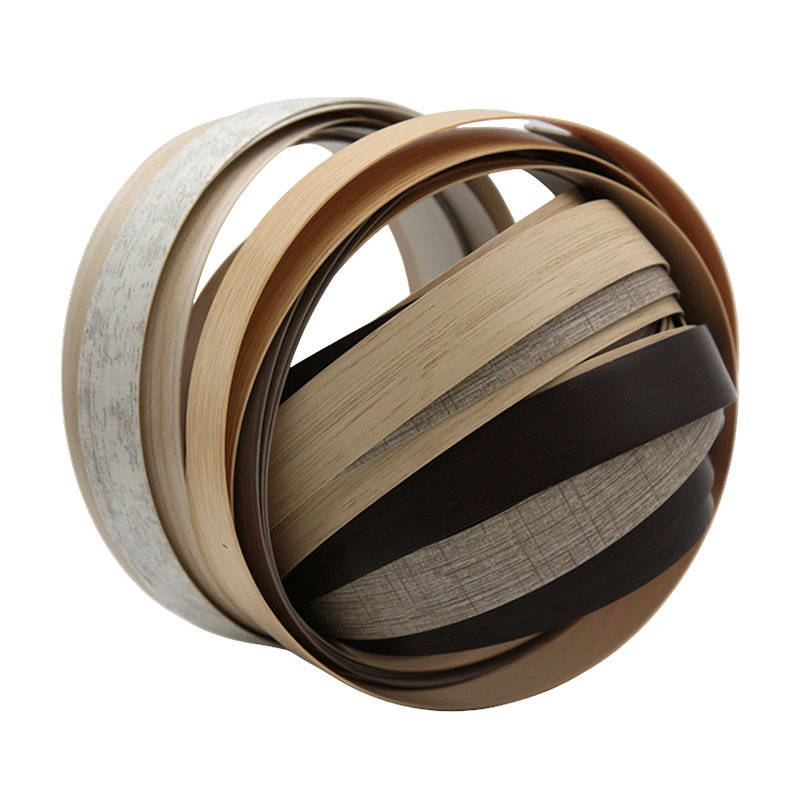
Deep Embossed Wood Grain PVC Edge Banding for Premium Furniture
-
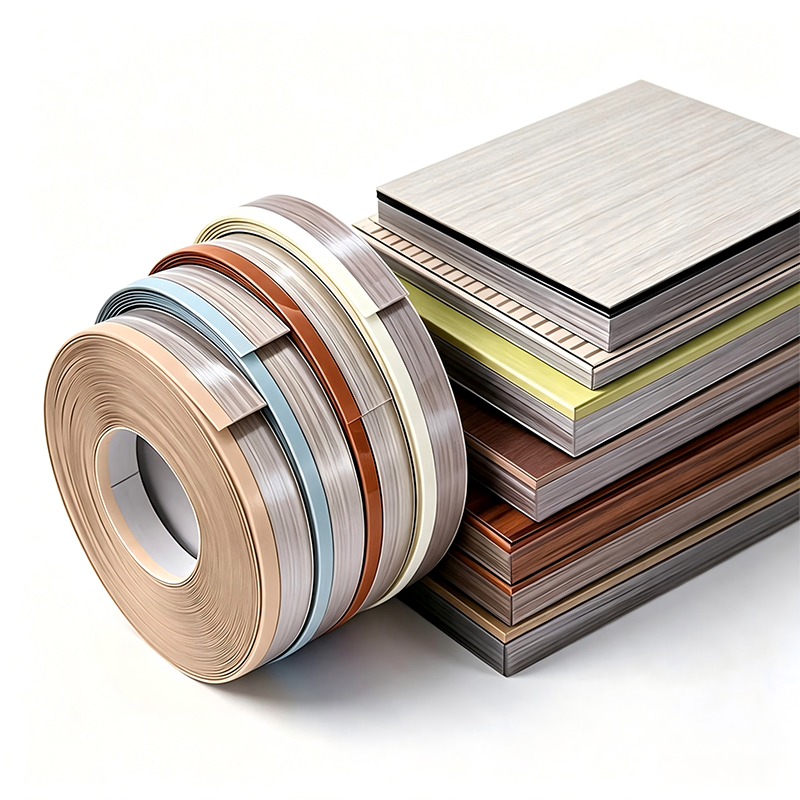
Wood Texture Acrylic Edge Banding with 3D Surface Effect
-
Custom High Glossy ABS Edge Banding for Modern Furniture Design
SUNTUNG
GROUP
Product List
Contact Info
-
 Tel.+86 150 0088 0641
-
 Whatsapp
-
 E-mailjoyce@suntunggroup.com
-
 Head Office AddressB-1218, Fengpu Av. 99th, Fengxian District, Shanghai, China
Get A Free Quote
Copyright © 2026 Shanghai Suntung Industry Co., Ltd. All Rights Reserved.
 Edge Banding Suppliers OEM/ODM Edge Banding Manufacturer