
 eng
 English
 Español
 русский
 عربى

Melamine Edge Banding Made Easy: What to Buy and How to Stick It On
Content
- 1 What Is Melamine Edge Banding and Where Is It Used?
- 2 Melamine Edge Banding vs. PVC, ABS, and Veneer
- 3 How to Choose the Right Melamine Edge Tape
- 4 Tools and Materials You Will Need
- 5 How to Apply Melamine Edge Banding Step by Step
- 6 Common Melamine Edge Banding Problems and How to Fix Them
- 7 Tips to Make Melamine Edge Banding Last Longer
- 8 Is Melamine Edge Banding Worth It?
If you have ever cut a sheet of melamine-faced particleboard or MDF, you know the raw edge looks rough and chipped. Melamine edge banding is the quick, cheap way to cover it. It gives cabinets, shelves, closets, and workbenches a clean, finished look in minutes. This guide explains what melamine edge banding is, how to pick the right size and finish, how to apply it step by step, and how to fix the problems that most often go wrong.
What Is Melamine Edge Banding and Where Is It Used?
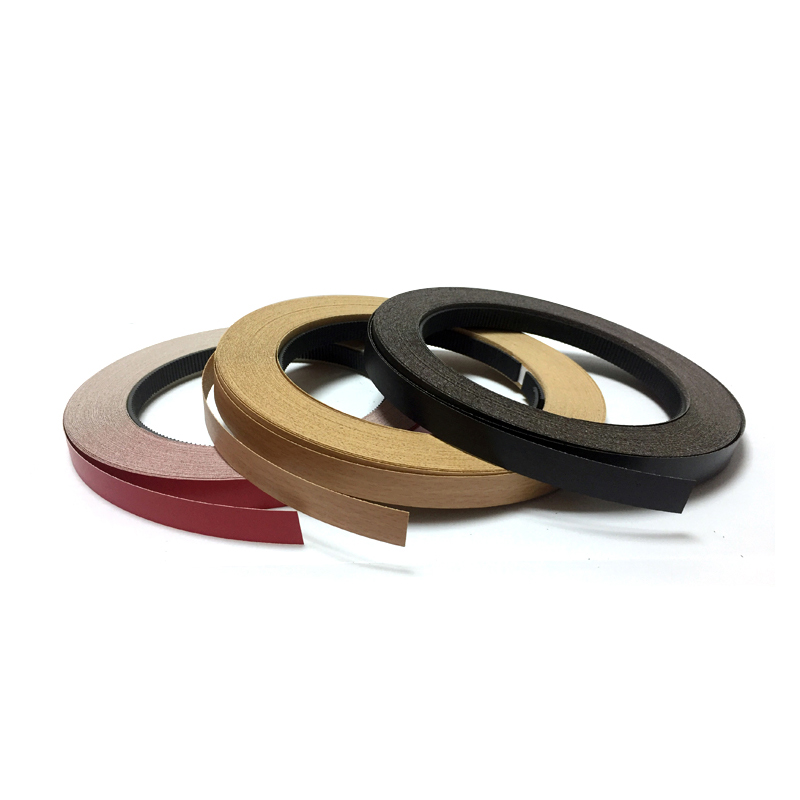
Melamine edge banding, also called melamine edge tape, is a thin strip of paper soaked in melamine resin and cured into a flat, hard-surfaced band. Most rolls come with a layer of hot-melt adhesive already on the back, so you can bond it with heat from a household iron. Because the strip is made of the same material as the surface of melamine boards, it matches them naturally and is easy to color-match.
You will find melamine faced edge banding on a wide range of everyday projects. It is most popular where the edges are not hit hard every day and the budget is limited.
- Kitchen and bathroom cabinet boxes and shelves
- Closet systems, wardrobes, and garage storage
- Office desks, bookcases, and display shelves
- DIY furniture built from particleboard or MDF panels
- Shop fixtures, retail shelving, and light-duty counters
Melamine Edge Banding vs. PVC, ABS, and Veneer
Melamine is not the only choice, and it is not always the best one. Knowing how it compares helps you avoid paying for more than you need, or choosing a band that wears out too soon.
| Type | Typical Thickness | Impact Resistance | Application Method | Best For |
| Melamine | About 0.4 to 0.5 mm | Low to medium | Iron-on or hot-melt | DIY, shelves, low-traffic furniture |
| PVC | 0.4 to 3 mm | High | Edgebander machine | Commercial cabinets, desks |
| ABS | 0.4 to 3 mm | High | Edgebander machine | Eco-friendly, high-wear furniture |
| Wood veneer | 0.5 to 0.6 mm | Low | Iron-on or glue | Real-wood look, stainable edges |
The short version: choose melamine edge banding when you want a low price, an easy install without special machines, and a color that matches your board. Choose PVC or ABS when the edge will be bumped, scraped, or cleaned heavily every day.
How to Choose the Right Melamine Edge Tape
Match the Width to Your Board Thickness
The most common mistake is buying a band that is too narrow. Pick a width slightly larger than the board so you have room to trim the overhang flush. For a standard 3/4 inch (19 mm) board, a 13/16 inch or 7/8 inch band works well, and many people choose a 15/16 inch band for extra margin. For 5/8 inch (16 mm) board, a 3/4 inch band is usually enough. Thick shelves and countertop edges may need 1-1/2 inch or 2 inch bands.
Match the Color and Texture
White, almond, black, gray, and wood grain patterns are the most widely stocked. Take a small offcut of your board to the store, or order a sample, because the same "white" can look warmer or cooler from one brand to the next. Check whether the texture is smooth or woodgrain. A texture mismatch is often more noticeable than a slight color difference.
Decide Between Pre-Glued and Unglued
Pre-glued melamine edge banding is the easiest choice for home projects, because the adhesive is already on the strip and you only need an iron. Unglued melamine edge banding is meant for use with contact cement or a dedicated edgebanding machine, and it is mostly used in workshops. If you are not sure, buy pre-glued.
Tools and Materials You Will Need
You do not need a workshop to apply iron-on melamine edge banding. Gather these items before you start so you can work in one pass while the adhesive is hot.
- Roll of pre-glued melamine edge banding, with about 2 inches of extra length per edge
- A household iron with the steam turned off, set to the cotton or medium-high setting
- A sharp utility knife, scissors, or an edge-banding trimmer
- A fine file or 220-grit sandpaper wrapped around a block
- A wood block or small roller to press the tape firmly
- A clean cloth and a pencil or tape measure
How to Apply Melamine Edge Banding Step by Step
Prepare the Edge
Wipe the edge with a dry cloth to remove sawdust. If the cut is rough or chipped, sand it lightly until it is flat. The adhesive can only grip a clean, even surface. A dusty or crumbly edge is the number one reason melamine edge tape peels later.
Heat and Press the Tape
Cut a strip about an inch longer than the edge, then place it with the adhesive side down. Start at one end and run the hot iron slowly along the tape, using steady pressure. Move at a pace of roughly an inch per second so the glue melts evenly without scorching the paper. Follow right behind the iron with a wood block or roller and press firmly while the adhesive is still warm.
Let It Cool, Then Trim
Wait at least one to two minutes for the glue to set before trimming. Trim the overhanging ends with a utility knife, then remove the excess along the long sides with an edge trimmer or by holding the knife nearly flat against the board face. Always cut away from the board surface so you do not gouge the melamine.
File and Finish the Edge
Use a fine file held at a slight angle, or 220-grit sandpaper on a block, to knock down any sharp lip. Make only a few light strokes, because the melamine layer is very thin and can be sanded through. Finish by wiping the edge with a clean, dry cloth. If you need a rounded corner, ease it gently instead of cutting at a sharp angle.
Common Melamine Edge Banding Problems and How to Fix Them
Even experienced DIYers run into trouble with melamine edge tape. The good news is that almost every problem has a simple cause and a quick fix.
| Problem | Likely Cause | Fix |
| Tape peels off | Iron too cool, or dusty edge | Reheat, press firmly, and clean the edge next time |
| Bubbles or gaps | Uneven pressure or heat | Reheat the area and roll it flat |
| Scorched or brown tape | Iron too hot or moved too slowly | Lower the temperature and move faster; replace the strip |
| Chipped face edge after trimming | Dull blade or cutting toward the board | Use a sharp blade and cut away from the surface |
| Visible seam at the corner | Ends cut unevenly | Trim ends square and butt them tightly together |
Tips to Make Melamine Edge Banding Last Longer
Melamine edge banding is thin, so how you finish and care for it matters. A few small habits can double its service life, especially on kitchen and bathroom furniture where moisture is an issue.
- Seal the unbanded sides and back edges of particleboard if the piece will be used near water, since swelling from moisture is the main cause of tape failure.
- Wipe spills from edges quickly instead of letting water sit along the seam.
- Avoid placing banded edges directly next to ovens, dishwashers that vent steam, or other heat sources.
- Round off sharp corners slightly so they do not catch and lift the tape.
- Store leftover rolls flat in a cool, dry place so the adhesive does not dry out or stick to itself.
Is Melamine Edge Banding Worth It?
For most home projects, yes. Melamine edge banding costs less than PVC or ABS, needs no special machine, and gives particleboard and MDF edges a clean, factory-like look. Its limits are clear: it is not built for heavy impact or constant moisture. If you pick the right width, prepare the edge well, and apply the tape with steady heat and pressure, a roll of melamine edge tape can turn a rough, unfinished panel into a piece you are proud to show off.
Recommend Products
-
Custom Pre-glued Wood Grain PVC Edge Banding for OEM Furniture Brands
-
Custom Wood Grain ABS Edge Banding for OEM Furniture Brands
-
Custom Color Matching Acrylic Edge Banding for Acrylic Furniture Panels
-
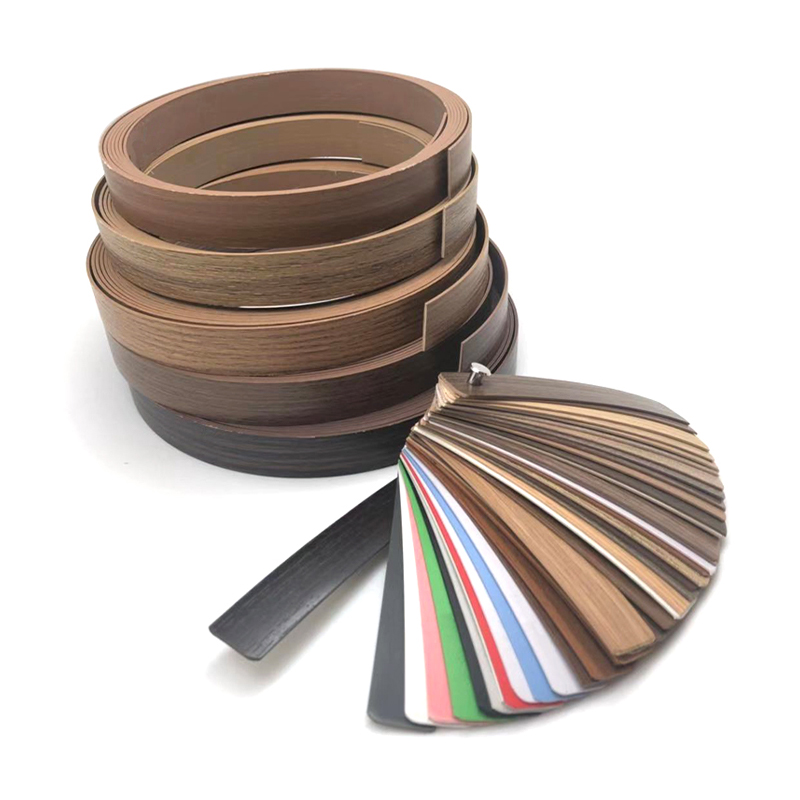
Custom Wood Grain PVC Edge Banding with Color Development Service
-
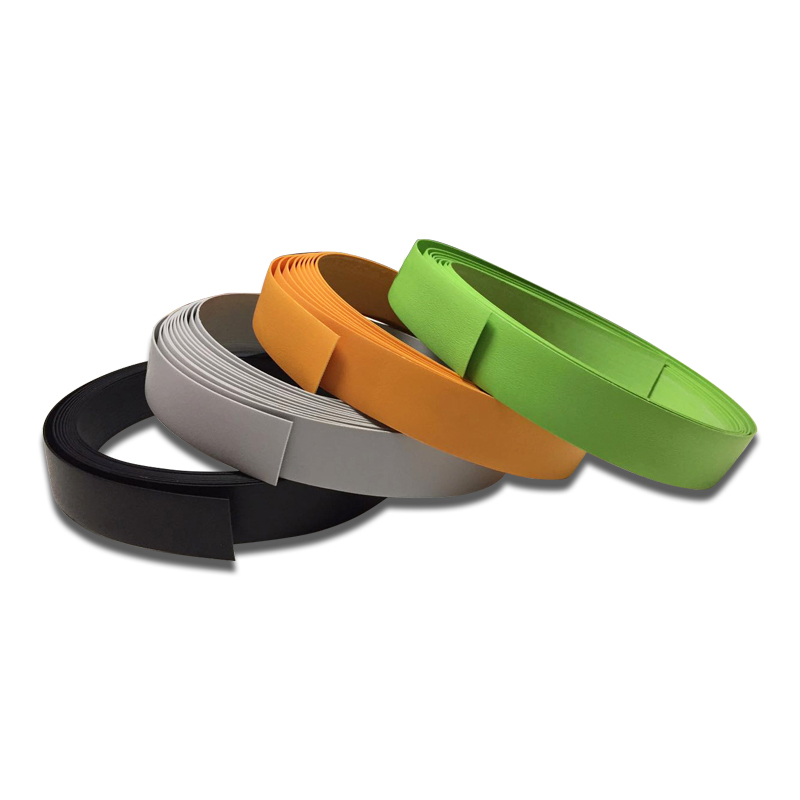
Ready-to-Use Solid Color PVC Edge Banding for Furniture Panels
-
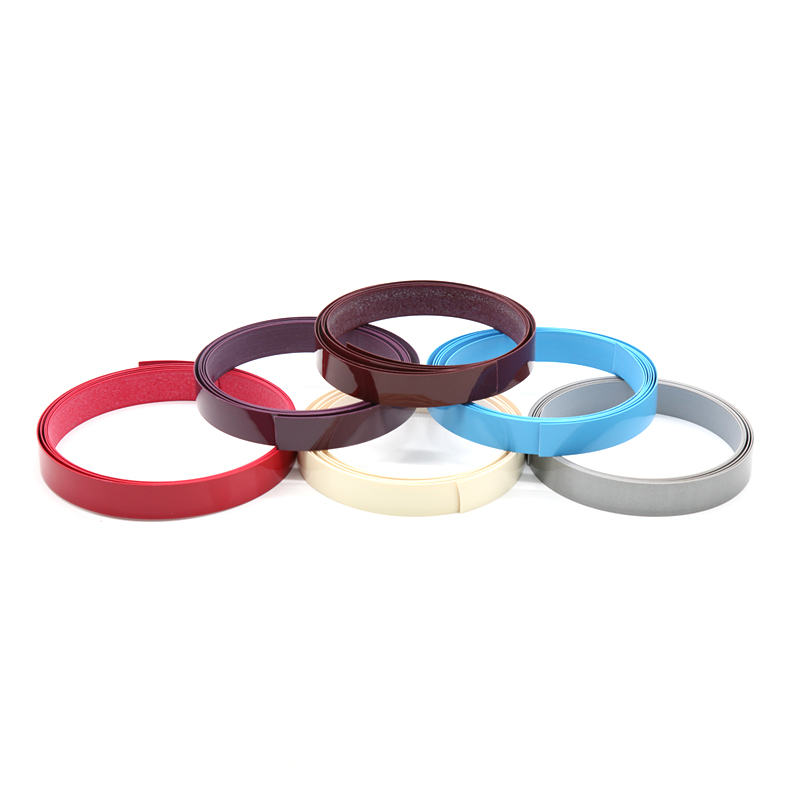
Custom High Glossy ABS Edge Banding for Modern Furniture Design
SUNTUNG
GROUP
Product List
Contact Info
-
 Tel.+86 150 0088 0641
-
 Whatsapp
-
 E-mailjoyce@suntunggroup.com
-
 Head Office AddressB-1218, Fengpu Av. 99th, Fengxian District, Shanghai, China
Get A Free Quote
Copyright © 2026 Shanghai Suntung Industry Co., Ltd. All Rights Reserved.
 Edge Banding Suppliers OEM/ODM Edge Banding Manufacturer